Look, I’m not here to sugarcoat things—most brownie recipes online are trash. I’ve tried probably fifty different versions, and half of them turned out drier than cardboard. But after years of kitchen disasters and chocolate-covered victories, I finally cracked the code on the best brownie recipe.
You know that fudgy, chewy texture that makes your eyes roll back? The kind where you take one bite and suddenly understand why people write poetry about chocolate? Yeah, that’s what we’re making today. No fancy equipment, no weird ingredients you’ve never heard of—just pure, unadulterated brownie perfection.
Table of Contents
Why This best brownie Recipe Actually Works
The Science Behind Perfect Brownies
Most people mess up brownies because they don’t understand the basic chemistry. I learned this the hard way after producing enough brownie bricks to build a small house :/
The secret lies in three key ratios:
- More fat than flour = fudgier brownies. That’s the secret formula.
- Sugar to chocolate (balances sweetness with deep chocolate flavor)
- Eggs to everything else (provides structure without making them cakey)
I spent months tweaking these ratios, and trust me, your taste buds will thank me later. The difference between a good brownie and a transcendent one comes down to understanding these fundamentals.
What Makes This Recipe Different
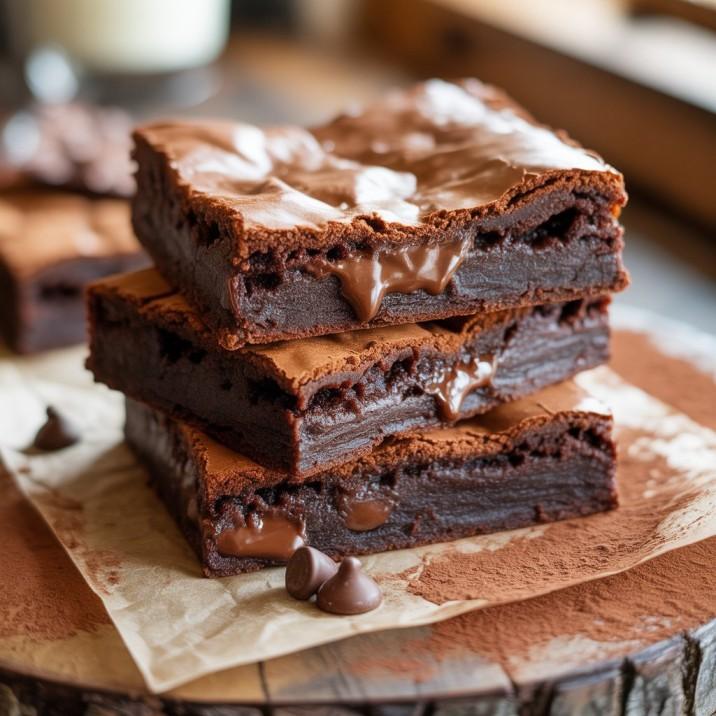
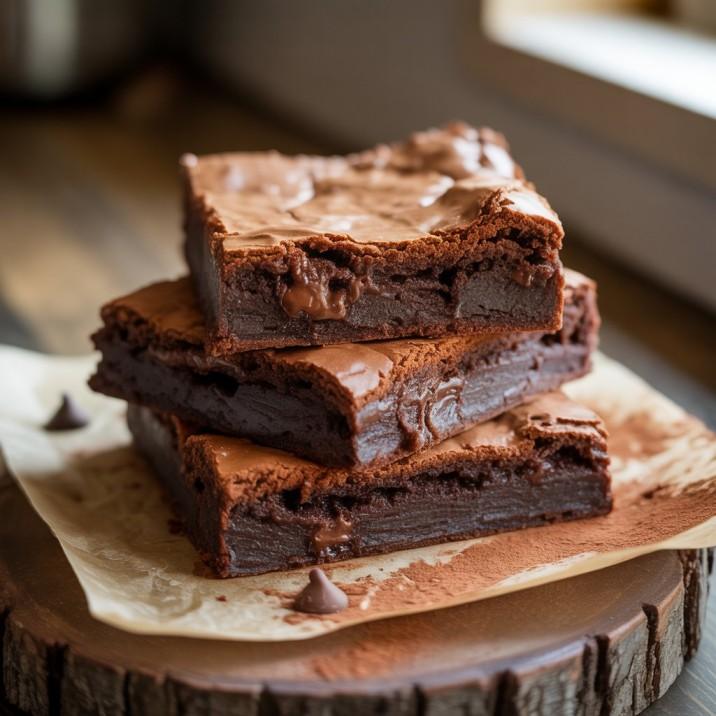
Ever notice how bakery brownies have that perfect glossy top? That’s not magic—it’s technique. My recipe incorporates two types of chocolate and a specific mixing method that creates that coveted shiny crust.
Most recipes tell you to just dump everything together and hope for the best. Not this one. We’re building layers of flavor and texture that’ll make your neighbors suddenly very friendly.
The Ultimate best Brownie Recipe
Ingredients You’ll Actually Want to Eat

For the Brownies:
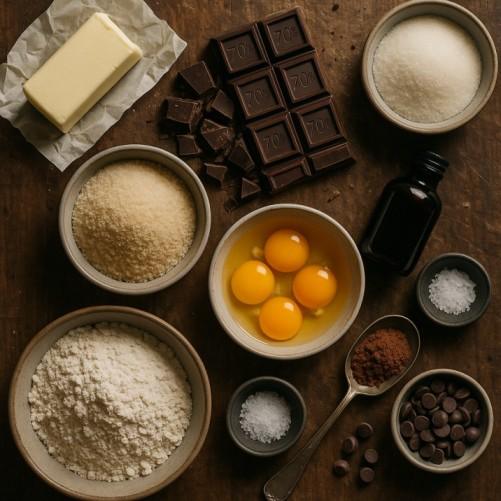
- 1 cup (226g) unsalted butter
- 8 oz dark chocolate (70% cocoa), chopped
- 1¼ cups granulated sugar
- ½ cup packed brown sugar
- 4 large eggs, room temperature
- 1 teaspoon vanilla extract
- 1 cup all-purpose flour
- ¼ cup unsweetened cocoa powder
- 1 teaspoon salt
- 1 cup chocolate chips (optional, but why wouldn’t you?)
Pro tip: Don’t cheap out on the chocolate. I’m serious. That generic baking chocolate from the bottom shelf? It’ll make your brownies taste like disappointment. Treat yourself to quality chocolate now, and future-you will be all smiles.
Step-by-Step Instructions That Actually Work
Prep Work (Don’t Skip This!)
Preheat your oven to 350°F (175°C). Line a 9×13 inch pan with parchment paper, leaving some overhang for easy removal. Trust me on this—trying to cut brownies stuck to the pan is a special kind of kitchen hell.
The Melting Process
Here’s where most people screw up. Don’t even think about tossing it all in the microwave and hoping for the best.
Set a heat-safe bowl over a pot of gently boiling water to make a double boiler.Drop in the butter and chocolate and stir now and then until it’s nice and smooth. The mixture should look glossy and unified—not grainy or separated.
Take it off the heat and give it 5 minutes to cool down a bit. This prevents the eggs from scrambling when you add them later.
Building the Base
Mix the sugars into the chocolate until you’ve got a smooth, even batter. The mixture might look a bit grainy—that’s normal and actually desirable for creating that crispy top.
One egg at a time! Make sure each egg is well blended before adding another. This is crucial for proper emulsification. Add the vanilla and mix until smooth.
The Dry Ingredients Dance
Combine flour, cocoa powder, and salt in a separate bowl. Slowly mix the dry ingredients into the chocolate batter with a spatula.
Key point: Stop mixing the moment you don’t see dry flour. Overmixing develops gluten, which turns your fudgy dreams into chewy nightmares.
Stir in the chocolate chips if you’ve got them—totally worth it.
Baking to Perfection
Spread the brownie mix into the lined pan nice and even. Bake for 28-32 minutes. It’s done when the surface is firm with some cracks, and the toothpick test shows moist crumbs—not clean!
Here’s the hardest part: let them cool completely before cutting. I know it’s torture, but cutting hot brownies results in a gooey mess instead of clean squares.
Pro Tips That Separate Good from Great
Temperature Matters More Than You Think
Room temperature eggs mix better and create a smoother batter. Cold eggs can cause the chocolate to seize up, creating lumps that refuse to disappear no matter how much you stir.
Similarly, don’t add hot chocolate mixture to cold eggs—you’ll end up with chocolate scrambled eggs, which is as gross as it sounds.
The Toothpick Test Is a Lie
Forget what every other recipe tells you about the toothpick coming out clean. If you’re aiming for fudgy, the toothpick should have a few sticky crumbs. A completely clean toothpick means you’ve overcooked them.
Storage Secrets
Store them right, and you’ve got tasty brownies all week long. Cut them into squares and store in an airtight container with parchment paper between layers.
FYI, they also freeze beautifully for up to three months. Cover the brownies in plastic wrap and stash them in a zip-top freezer bag.
Troubleshooting Common Disasters
When Brownies Turn Out Cakey
This usually happens when you’ve added too much flour or overmixed the batter. Measure your flour by weight if possible—it’s way more accurate than volume measurements.
The Dreaded Dry Brownie
Nine times out of ten, this means you overbaked them. Every oven is different, so start checking at 25 minutes. Even after pulling them from the oven, the heat inside keeps working.
Why Your Brownies Sink in the Middle
It’s usually because you opened the door early or the oven temp is off. Resist the urge to peek for the first 20 minutes, and consider getting an oven thermometer if this keeps happening.
Variations That Don’t Suck
Salted Caramel Brownies
Swirl in ¼ cup of caramel sauce before baking and sprinkle with flaky sea salt. The sweet-salty combo is absolutely addictive.
Espresso Brownies
Mix 1 tablespoon of instant espresso powder into the dry stuff—it makes the chocolate taste even richer, not like coffee.
Nutty Brownies
Fold in 1 cup of chopped walnuts or pecans with the chocolate chips. Toast the nuts first for extra flavor depth.
More delicious recipes?
check out some of our other top recipes:
Protein Pancakes Recipe
summer vegetable Pasta Salad
Cake Pops Recipe
The Bottom Line

Making perfect brownies isn’t rocket science, but it does require paying attention to details. Most recipes fail because they ignore the fundamentals—proper ratios, correct temperatures, and knowing when to stop mixing.
This recipe has survived countless kitchen tests, demanding friends, and even my extremely picky mother-in-law. It’s produced more “Oh my God, these are incredible” reactions than I can count.
The best part? After you nail this basic recipe, you’re free to tweak it any way you like. Want to add nuts? Go for it. Prefer milk chocolate? Make the swap. The technique stays the same, and the results stay consistently amazing.
So grab your apron, crank up some music, and get ready to make brownies that’ll ruin every other dessert for you. You’ve been warned 🙂

The Best Brownie recipe (No Mixer Needed!)
Description
The Best Brownie Recipe for rich, fudgy squares with shiny tops and deep chocolate flavor—no mixer needed, way better than boxed!
Ingredients: For the Brownies:
Instructions
-
Prep Work (Don't Skip This!)
-
Preheat your oven to 350°F (175°C). Line a 9x13 inch pan with parchment paper, leaving some overhang for easy removal. Trust me on this—trying to cut brownies stuck to the pan is a special kind of kitchen hell.
-
The Melting Process
-
Here's where most people screw up. Don’t even think about tossing it all in the microwave and hoping for the best.
-
Set a heat-safe bowl over a pot of gently boiling water to make a double boiler.Drop in the butter and chocolate and stir now and then until it’s nice and smooth. The mixture should look glossy and unified—not grainy or separated.
-
Take it off the heat and give it 5 minutes to cool down a bit. This prevents the eggs from scrambling when you add them later.
-
Building the Base
-
Mix the sugars into the chocolate until you’ve got a smooth, even batter. The mixture might look a bit grainy—that's normal and actually desirable for creating that crispy top.
-
One egg at a time! Make sure each egg is well blended before adding another. This is crucial for proper emulsification. Add the vanilla and mix until smooth.
-
The Dry Ingredients Dance
-
Combine flour, cocoa powder, and salt in a separate bowl. Slowly mix the dry ingredients into the chocolate batter with a spatula.
-
Key point: Stop mixing the moment you don't see dry flour. Overmixing develops gluten, which turns your fudgy dreams into chewy nightmares.
-
Stir in the chocolate chips if you’ve got them—totally worth it.
-
Baking to Perfection
-
Spread the brownie mix into the lined pan nice and even. Bake for 28-32 minutes. It’s done when the surface is firm with some cracks, and the toothpick test shows moist crumbs—not clean!
-
Here's the hardest part: let them cool completely before cutting. I know it's torture, but cutting hot brownies results in a gooey mess instead of clean squares.
Nutrition Facts
Servings 16
- Amount Per Serving
- Calories 290kcal
- % Daily Value *
- Total Fat 16g25%
- Protein 3g6%
* Percent Daily Values are based on a 2,000 calorie diet. Your daily value may be higher or lower depending on your calorie needs.
Note
- Room temperature eggs blend better and help prevent the chocolate from seizing.
- For super clean cuts, chill brownies in the fridge for 30 minutes before slicing.
- Don’t overbake—fudgy brownies should have a few sticky crumbs on the toothpick.


